For this (Below) shot from Valiant I was asked to add some lightning flashes in the clouds. Thought about it for a second and realized I am not the best animator so i turned to the curve tool.

I added the time offset just to get the footage to frame 1.

Picked the area I liked for the curve tool to calculate
Then I hit go in the CurveTool tab and let it calculate.


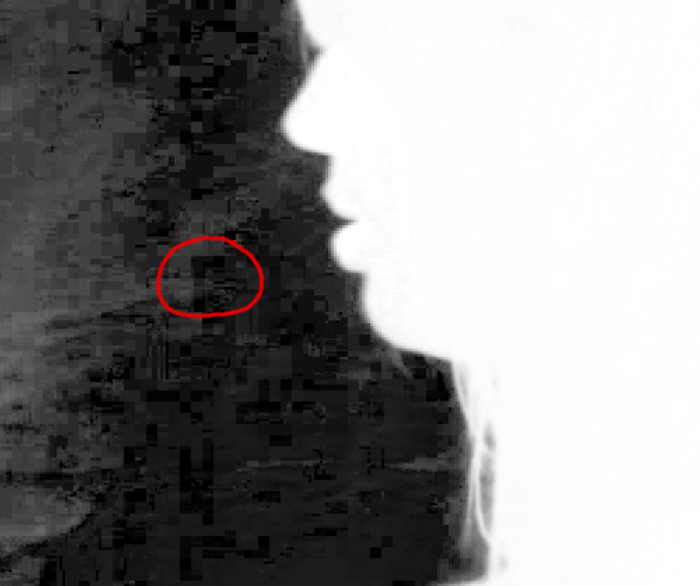
Here is the image we will add the curve to.
Added a keyer to my clouds background to create an alpha of the area I wanted to have effected.

I copied and pasted the CurveTool Intensity Data tab into an exposure node in all three channels RGB.

This was my result!
You can also change your keyer to get different results or add an expression to the exposure tool to make it brighter or darker.

simple expression multiplying it by 2